Types of User Accounts in Windows 11/10
Windows has always been well-equipped to handle multiple user accounts, and the latest Windows 11/10 also allows you to create users’ accounts namely – Administrator Account, Standard account, Work & School account, Child account, and Guest Account. Each account has its own settings and can be set with particular preferences. In this post, we will learn about each of these account types in Windows 11/10.
What is an Administrator Account?
Whether you run a fresh Windows 11/10 install or upgrade your existing version of Windows, you first need to create a user account. This main account on your PC is termed as an Administrator account. You can log in to your PC using your Microsoft account or via a local account. One needs to be logged in with a Microsoft account, to use some typical Windows 11/10 features like Windows Store, etc. The administrator account gets complete access to the PC and is allowed to make any changes in Settings and customize the PC.
Many people don’t know but there is also a built-in elevated Administrator Account in Windows which is inactive by default. This account is required only for some features which ask for elevated rights and is often used only for troubleshooting. An Administrator has a right to add or remove multiple user accounts to and from a computer system. He can also change the account type of the users, like from a Standard account to an Administrator account or from a Child account to an Administrator account.
Convert an account into an Administrator account in Windows 11
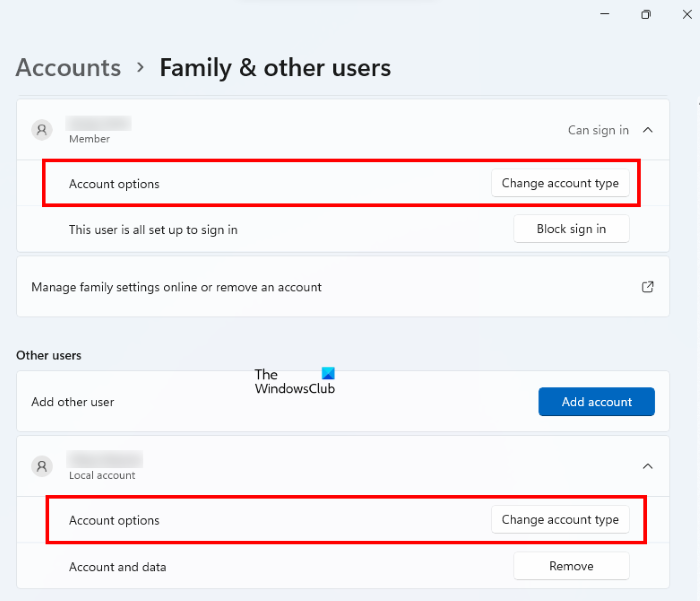
The following instructions will guide you on how to make a Child or Local account to an Administrator account on Windows 11:
Convert an account into an Administrator account in Windows 10
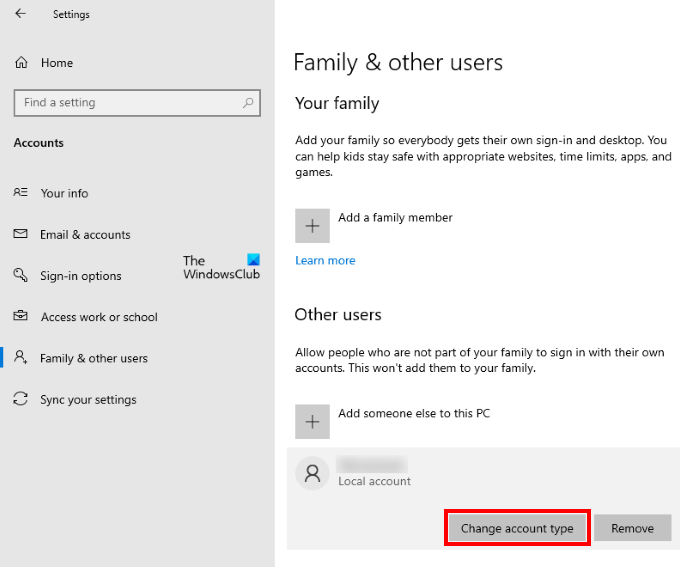
Windows 10 users have to follow the instructions listed below:
What is a Work & School Account?
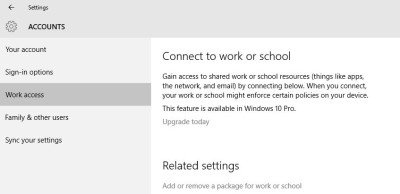
A Work or School account is an account that is created by an organization or a school. While a normal user’s account (administrator or local) contains outlook.com as a domain, the Work or School account contains either a custom domain name or the company’s name as a domain. Under Your account section, you can add a Work and School account. Scroll down and you will see the link to create one. The Work Access section in the Account Settings lets you get access to the shared apps, email, or notifications from work or school.
This feature to create a Work or School account is not available in Windows 11/10 Home edition. If you want to create a Work or School account, you should have the Pro version of Windows 11/10. Why? This is because when an organization creates a Work or School account, it registers that account via the Azure Active Directory or Azure AD. Azure AD is a cloud-based identity and access management service of Microsoft. It lets users access the company’s resources in Azure Portal, Microsoft 365, etc. Azure is not available in Windows 11/10 Home edition. Windows 11/10 Home users, however, can connect to their Work or School account. The process to add or remove a Work or School account to Windows 11/10 Home edition is simple. We have explained the steps below:
Windows 11
Windows 11 users have to follow the steps below: This will add the Work or School account on your Windows 11 Home computer. If you want to remove the Work or School account from your computer, repeat the first three steps written above and then click on the account that you want to remove. Now, click on the Disconnect button and then click Yes to confirm the account deletion. This will not delete the account entirely, but remove its access from your computer.
Windows 10
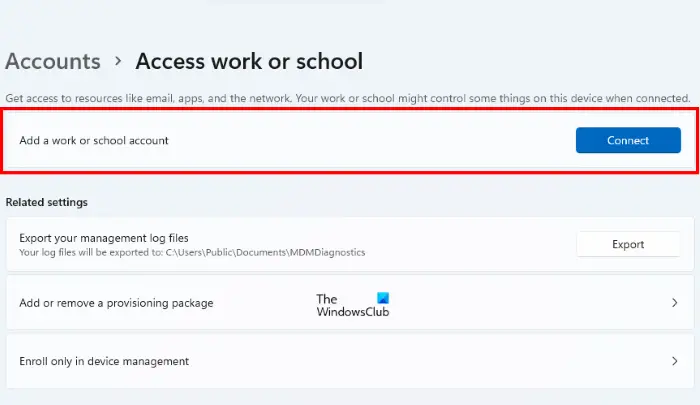
If you have a Windows 10 OS, right-click on the Start Menu and select Settings. Now, in the Settings app, go to “Accounts > Access Work or School.” Click on the Connect button and follow the on-screen instructions.
As explained earlier, you cannot completely remove the Work or School account from your computer, but you can disconnect it. For this, select the Work or School account and click Disconnect.
Why can’t I remove the Work or School account from my Windows 11/10 computer?
You cannot remove the Work or School account from your Windows 11/10 computer until it is the only or primary account on your computer.
What is a Standard Account?
Every new account created on Windows 11/10 PC will automatically be created as a Standard Account unless it is a Child Account. The Standard account is also called a Local account. The user with a Standard account usually gets permissions similar to that of an Administrator Account. But this user cannot modify settings or make changes to the system. He gets permissions that are allowed by the administrator. Let’s see how a Standard account is different from an Administrator account. The user with an Administrator account gets full control of the PC. Whereas, on the other hand, users with Standard accounts do not have administrative rights. A Standard account user can use the computer normally. He can open all the installed programs, save files from the internet, delete the existing files, etc. If we talk about installing and uninstalling the software on a computer, a Standard user can install and uninstall only those programs that do not require administrative permissions. Let’s compare the installation location of the programs under the Administrative account with the Standard account:
In most cases, the installation location of the programs under the Administrator account is either the Program Files or the Programs Files (x86) folder. The installation location of the programs under the Standard account is the Roaming folder. You will find this folder inside the AppData folder. The path to reach this location is:
Every Standard user has a different Roaming folder under his username in the C directory. The purpose of creating a separate Roaming folder for each Standard account is to keep the app data of all the local users separate from one another. Also, a Standard user cannot view, modify, or delete the system files. Apart from that, he cannot do any task on the computer that requires administrative permissions. A user with a Standard account cannot access another user’s folder in the C directory. But the user with an Administrative account can access other users’ data too.
How to create a Standard User account on Windows 11
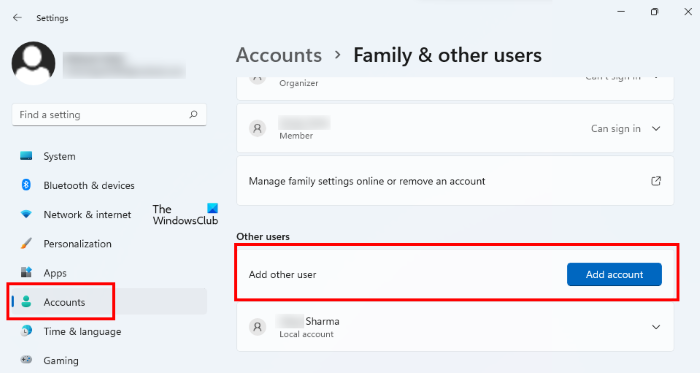
Let’s see the process to create a Standard or Local account on Windows 11.
Follow the steps below: All the Standard accounts that you add to your PC will be available under the Other users section.
How to create a Standard User account on Windows 10
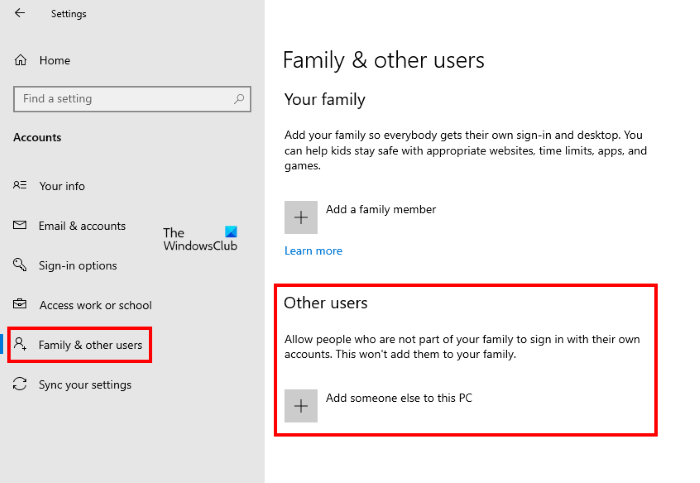
You will be able to create a Standard or Local User account under the Family and Other Users section in Account Settings. Simply click on the Start Menu and go to “Settings > Accounts > Family & Other Users.”After that, click Add someone else to this PC under the Other users section. Now, repeat the steps 5, 6, and 7 written above.
What is a Child Account?
A Child account is a type of Standard account with Parental Control settings. Because it is a Standard account, the data of apps and other programs is stored in the Roaming folder. We have explained above how to access this folder on Windows 11/10. Under the Family and Other Users section in Account Settings, you can create a special account for your child where you can restrict the time limits, web browsing, apps, and games according to your own preferences. The Child Account settings help users keep their kids safe online while using their PC.
How to create a Child account on Windows 11
The below-listed steps will guide you on how to create a Child account on Windows 11:
How to create a Child account on Windows 10
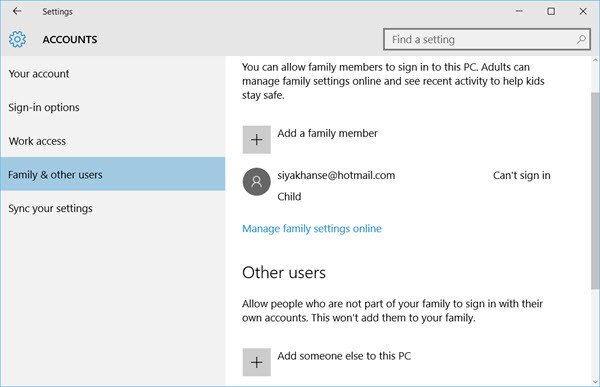
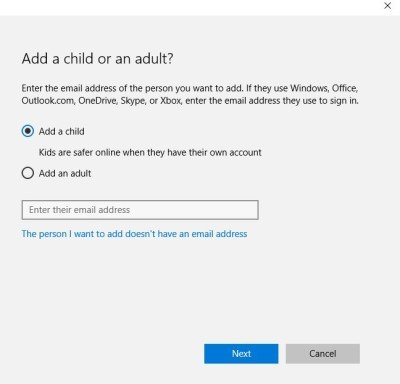
To create a child account on Windows 10, go to “Settings > Accounts > Family and Other Users” and click Add a family member.
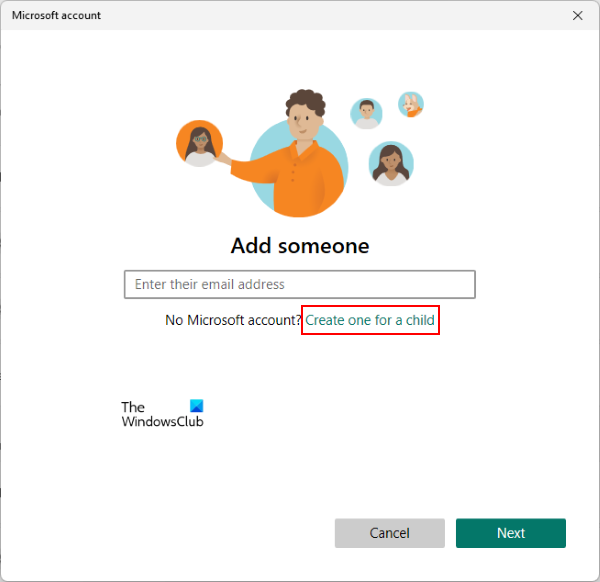
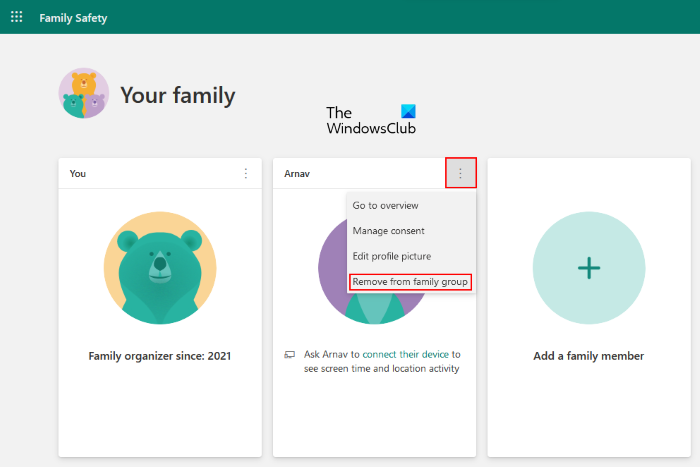
Here you can create a Child or an Adult account. Select Add a Child, enter the Microsoft account email id of your child and follow the steps further. When you create a child account you can configure the entire activity on PC including web browsing, playing games, using apps as well as screen time. Note: If you have already created a Microsoft account for your child on the internet, there is no need to create a new one in Windows 11/10. In this case, simply enter your child’s email address in the window that appears after clicking on the Add an account button and then click Next. After that, your child will get an invitation link on his/her email address. When your child accepts that invitation, his account will automatically be added to your Windows 11/0 computer. To remove the child or other family member account from your computer, visit family.microsoft.com. Alternatively, you can also click on the Manage family settings online or remove an account button under the Family & Other Users settings. This will take you to your family account page on your web browser. After signing into your account, click on the three vertical dots next to the profile of your family member and click Remove from family group.
Read: How to Set up and Use Parental Controls in Windows 11.
What is a Guest Account?
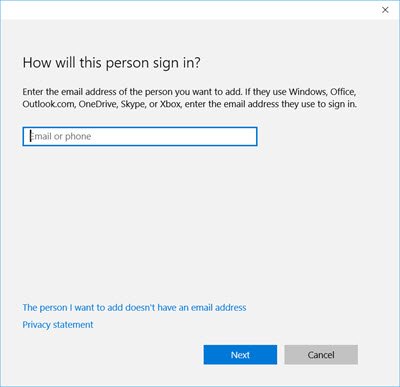
Here in the same Family and other users section, you can also add Other users as a Guest account. Click on Add someone else to the PC to get started.
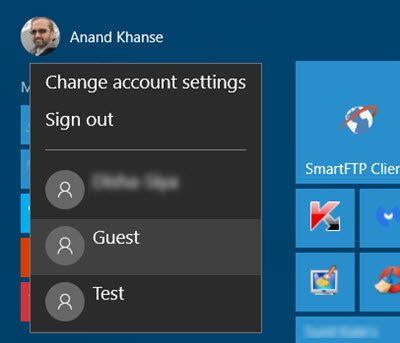
Guests Accounts are usually created when we want someone to have temporary access to your personal computer system. A guest account is a temporary account and the user is strictly not allowed to perform any changes to your PC settings or to access any of your personal files stored in the PC. Unlike the Standard User or Administrator, Guest account users cannot create a password, install a software on their PC, or can’t even modify any of their PC settings. All a guest account user can do is to log on to your PC, browse and surf on the web and can shut down the PC. Guest Accounts have a limited set of permissions, but still, it is important to disable it when not being a user. One thing I noticed here is that you cannot use the name Guest for creating the Other users’ account. But if you had a Guest account enabled and created in your earlier OS, it will continue to exist after the upgrade, as you can see in one of my other laptops.
See this post if you want to learn how to create a Guest Account in Windows, like the earlier times. The process that we have explained in this post to create a Guest account applies to both Windows 11 and Windows 10 users. Read: Complete Guide to Manage User Accounts in Windows 11/10. Hope this helps.